

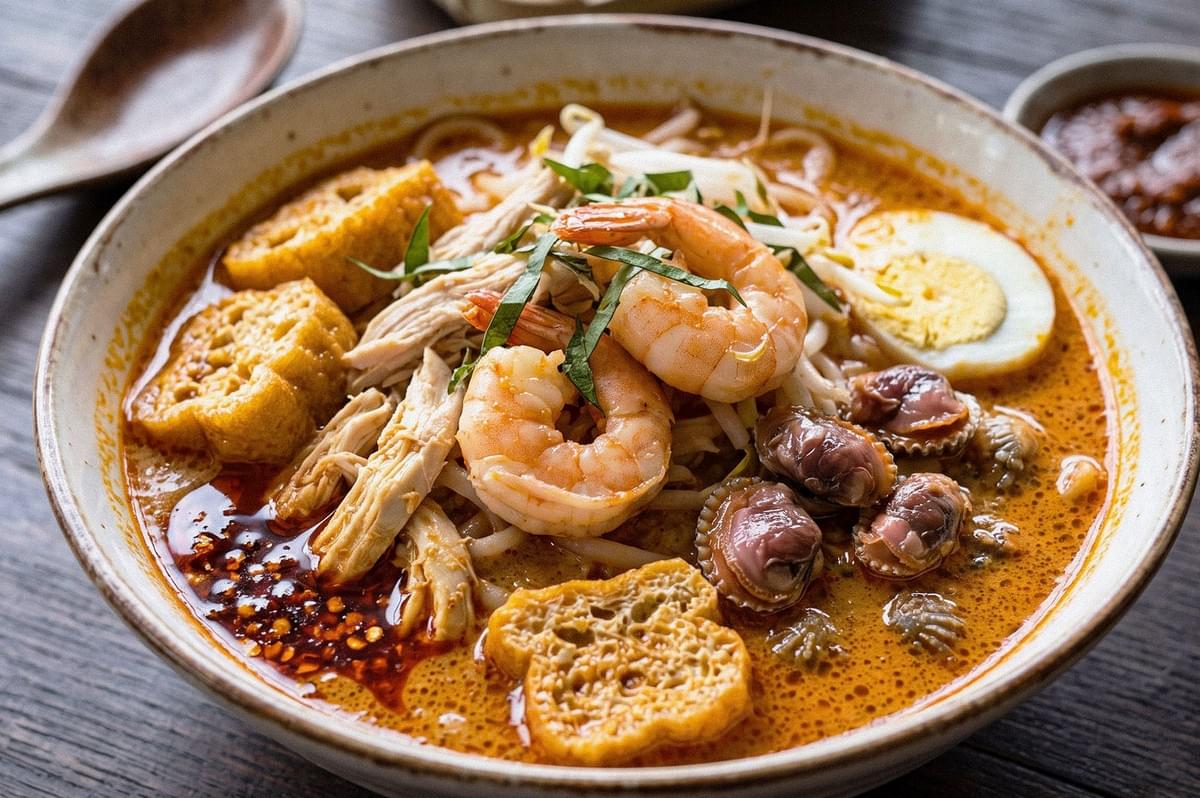
The photo looked fine on the phone. A bowl of laksa, cockles glinting, a little chilli oil pooled at the rim. Then the restaurant asked for it as a print for their wall, and the crop I loved was only 2400 pixels wide.
That is usually how this starts. Not with a bad photograph, but with a good one asked to do more than it was captured for.
AI image upscaling has made that request easier to meet. But "enlarge without losing quality" is a softer promise than it sounds. With food, the question is not only whether the picture looks sharper. It is whether it still shows the dish that was actually served.
What an AI Image Upscale Actually Does
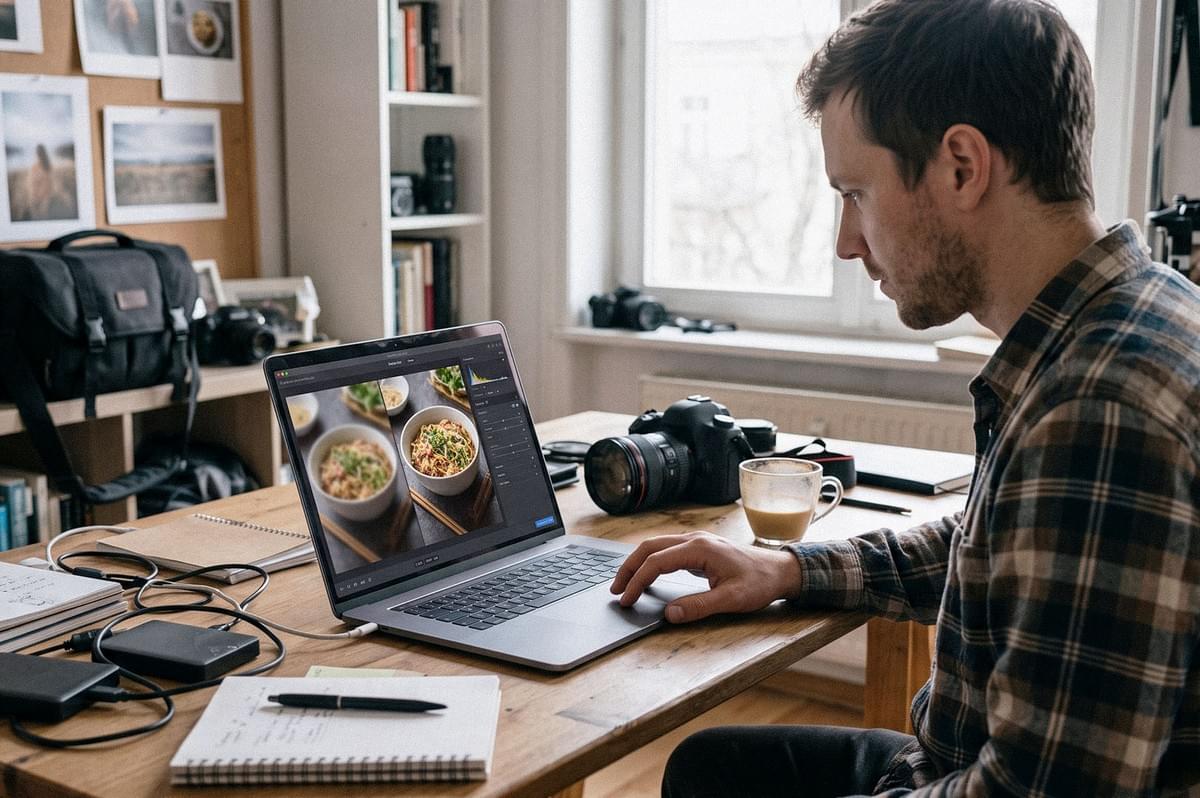
Traditional resampling guesses new pixels from their neighbours, and the result often turns soft. An AI image upscaler works differently. It draws on learned patterns to predict what higher-resolution detail probably looked like, so the enlargement can appear crisper.
The word that matters there is predict. When you AI upscale an image, you are not recovering what the camera missed. You are asking a tool to imagine it plausibly. That is why it helps to judge quality in three separate ways:
- Resolution: Are there enough pixels for the final use?
- Perceptual quality: Does it look sharp and natural?
- Fidelity: Does it still depict the real food?
An image can pass the first two and quietly fail the third.
PPI, Pixels, and the 300 Number
Changing a file from 72 ppi to 300 ppi does nothing on its own. Without resampling, you are only telling the printer how tightly to pack the pixels you already have. A 3000 × 2000 photo holds six million pixels either way.
The more honest calculation is simple: desired print size in inches × target ppi = pixels needed.
- 8 × 12 inch print at 300 ppi requires 2400 × 3600 pixels.
- 12 inch wide print at 300 ppi requires 3600 pixels in width.
- A 3000 × 2000 pixel file at 300 ppi can print about 10 × 6.67 inches.
Around 300 ppi is a common target for close-viewed prints, but it is not a law. Around 220 ppi often works for inkjet printing, and larger prints viewed from across a room need less. Check your printer or print service. If you already have enough pixels, you may not need to upscale at all.
An AI Image Upscale Workflow for Food Photography
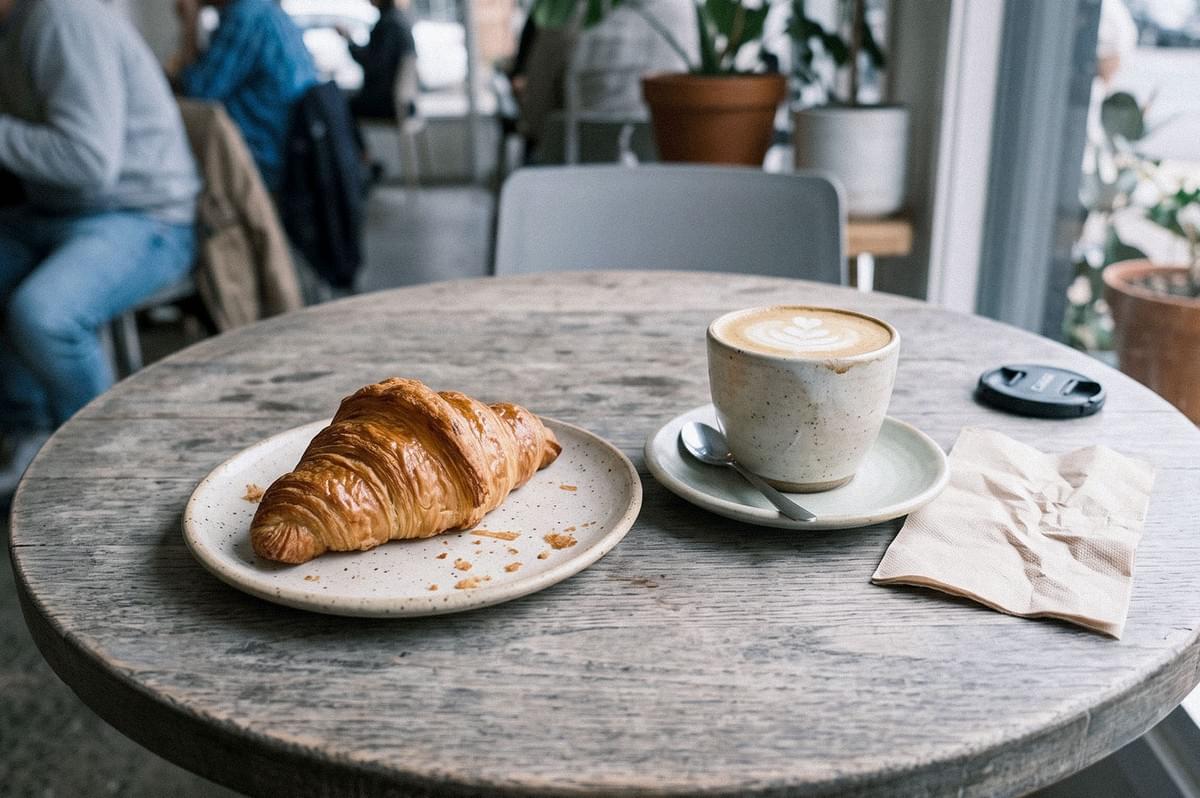
Order matters here, more than the tool you choose.
- Start from the best source. Go back to the RAW or master file, never a social-media download, screenshot, or chat-app copy. A clean 2500-pixel original can beat a 4000-pixel JPEG that has been saved five times.
- Correct first. Exposure, white balance, lens corrections, noise, stray crumbs. Hold back on heavy sharpening.
- Crop before upscaling. Often the crop, not the camera, consumed the resolution. Set the final aspect ratio, since most tools keep the source ratio.
- Calculate the need. Enough pixels? Stop. Slightly short? Resize conservatively. Far short? Test an AI upscale and inspect carefully.
- Begin at 2×. That doubles width and height, four times the pixels. Increase only if the output demands it.
- Inspect at 100%. Rice grains, herbs, noodle edges, sauce boundaries, condensation, sesame seeds, plate rims, and any packaging text.
- Sharpen for output, then save separately. Screen, matte, or glossy sharpening at the end. Keep names clear: Laksa_RAW, Laksa_Master, Laksa_Upscale_2x_Print.
What Might Help: Place the original beside the upscale and ask one quiet question. Does this look better and still look like what was on the table? Watch for ingredients that appear, vanish, or multiply.
Preservation Models vs. Creative Models
Not every AI upscale behaves the same. Photoshop's Generative Upscale, for instance, offers Topaz Gigapixel, described as preserving existing detail, and Topaz Bloom, built to add creative new detail. Topaz's own Redefine model openly rebuilds structure.
Match the approach to the type of image:
Real menu or editorial dishes: Use a preservation-first model and a conservative upscale. The priority is retaining the actual texture, ingredients, garnish, and structure captured by the camera.
Packaging and labels: Prioritise preservation, especially around logos, lettering, nutritional information, and fine print. If the source lacks enough detail, compositing an accurate high-resolution label may be safer than allowing AI to reconstruct it.
AI-generated concept images: A creative or generative upscale can be more appropriate. Because there is no camera-captured original to preserve, adding plausible detail may be acceptable when it supports the intended visual.
The balance depends on purpose. A chef's actual nasi lemak deserves fidelity. A concept image never had camera-captured texture to protect, so more invention is acceptable. If you are still weighing which tool belongs in your workflow, the differences between the best AI tools for food photography are worth understanding before you commit.
Why Upscaling Won't Rescue Blurry Images
This is the mistake that costs the most time. Low resolution and blur are different problems. If focus landed behind the bowl of hawker noodles, upscaling a 6000 × 4000 file to 12,000 × 8000 only gives you more soft pixels.
A few related traps come up again and again:
- Maxing the ratio. Six times the size sounds impressive. For an Instagram post, it is only more room for artifacts.
- Judging at fit-to-screen. Invented crumb and fake grill marks hide at small sizes.
- Confusing tasks. Upscaling adds pixels. Sharpening boosts edge contrast. Denoising removes grain. Generative expansion adds content beyond the frame. Each solves something different.
- Trusting fried textures. An AI can make a soft chicken crust look crisp. That improves appearance while quietly telling a small lie.
The Singapore Factor
Here, the best upscale is often the one you avoid by protecting the source. Our humidity stays high all year. Walk from a cold, air-conditioned restaurant into the warm afternoon, and your lens can fog in seconds. Let the gear acclimatise and check the glass before shooting. No AI image upscaler brings back microcontrast lost to condensation.
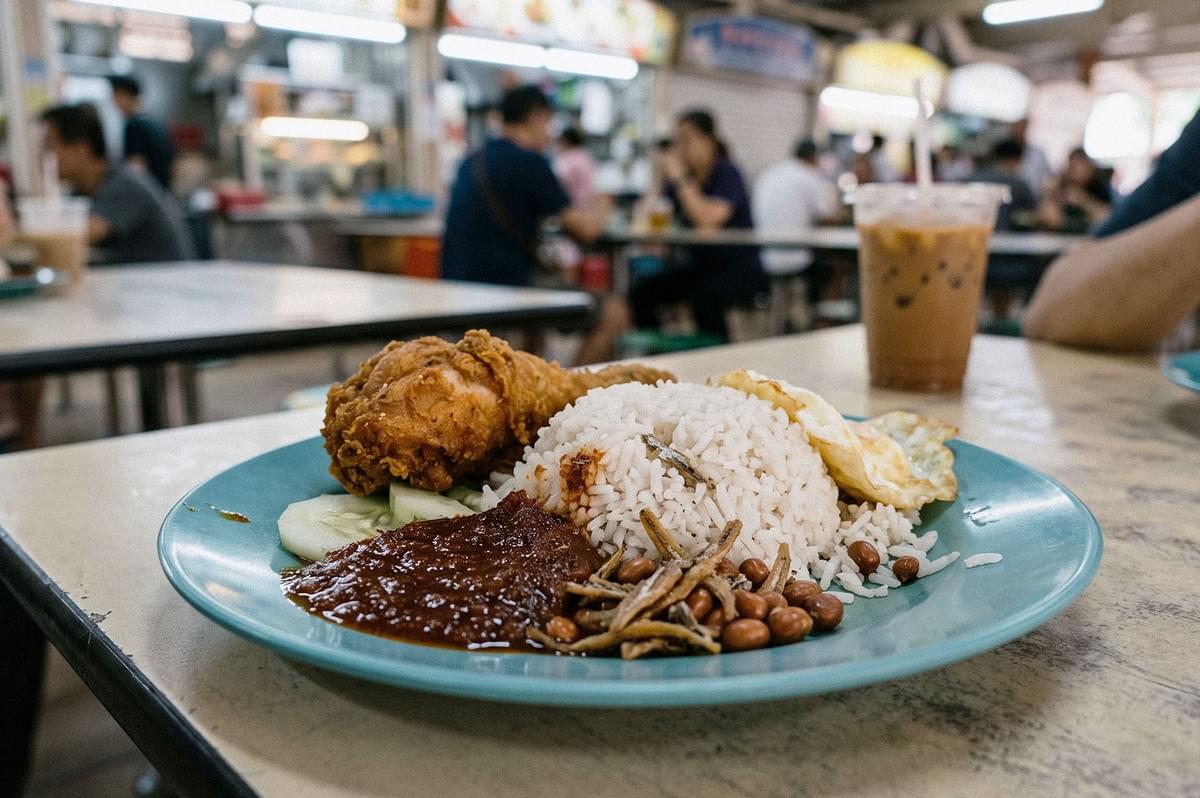
Hawker food is also the most honest stress test there is. One plate of nasi lemak holds rice grains, ikan bilis, peanuts, sambal, cucumber, and fried chicken all at once. Over-process it and each part sharpens while the whole plate stops feeling real. That same density of texture and cultural detail is what makes Changi Village food destinations with picture-perfect AI photography potential so revealing: the ingredients should survive the enlargement, not be reinvented by it.
AI Image Upscale: Common Questions and Concerns
Can AI fix blurry images?
Sometimes it improves them. But detail the camera never recorded can only be reconstructed, not recovered. Treat any new texture as a guess.
Should I always upscale to the maximum?
No. Choose the smallest upscale needed for the output. It saves processing, storage, and mistakes.
Do I always need 300 ppi?
No. It is a common print target, not a universal rule. Calculate from print size and viewing distance, and follow your print service.
What if the source is an old, tiny JPEG?
AI can make it usable. If the restaurant still serves the dish, a fresh shoot will be more truthful.
A Quieter Way to Think About It
AI image upscaling is an output tool. It does not replace careful focus, clean glass, and a patient crop.
Before you reach for it, count the pixels you actually need. Start at 2×. Look closely at the rice, the herbs, the edge of the sauce. And keep asking the only question that really matters for food: is this still the plate that was served?
For more practical guides on combining photography with AI while keeping the food itself at the centre of the image, explore AI Food Photo Hub.
