

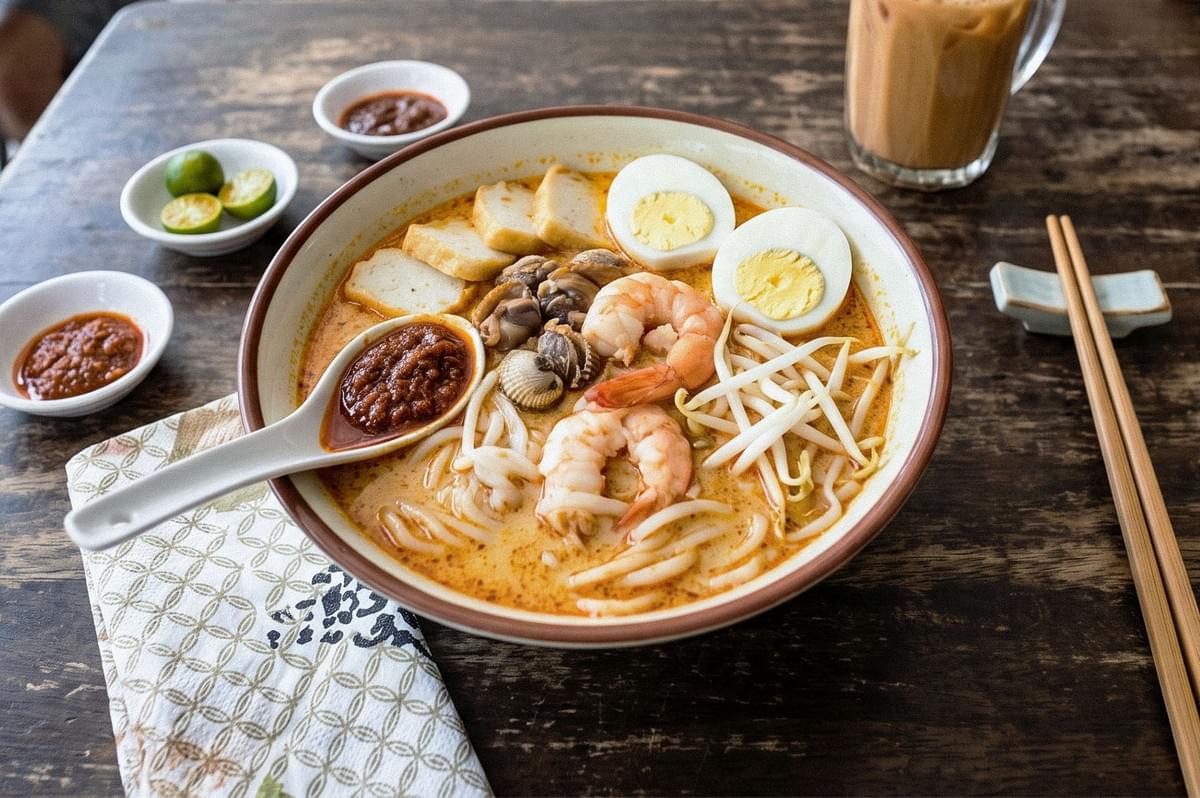
I stood over a bowl of laksa at a stall in Katong, phone flat above the bowl, sure I was doing it right. The photo came back looking like a puddle. Flat broth, no depth, no steam. Nothing of the warmth I'd felt when the auntie slid it across the counter.
The laksa was wonderful. My angle wasn't.
That day taught me something I've held onto since. The camera you own matters far less than where you point it. Angle decides what a person notices first, before lighting, before editing, before any of the rest. Get it right, and a phone will do.
Flat Lay (90° Overhead): For the Whole Story
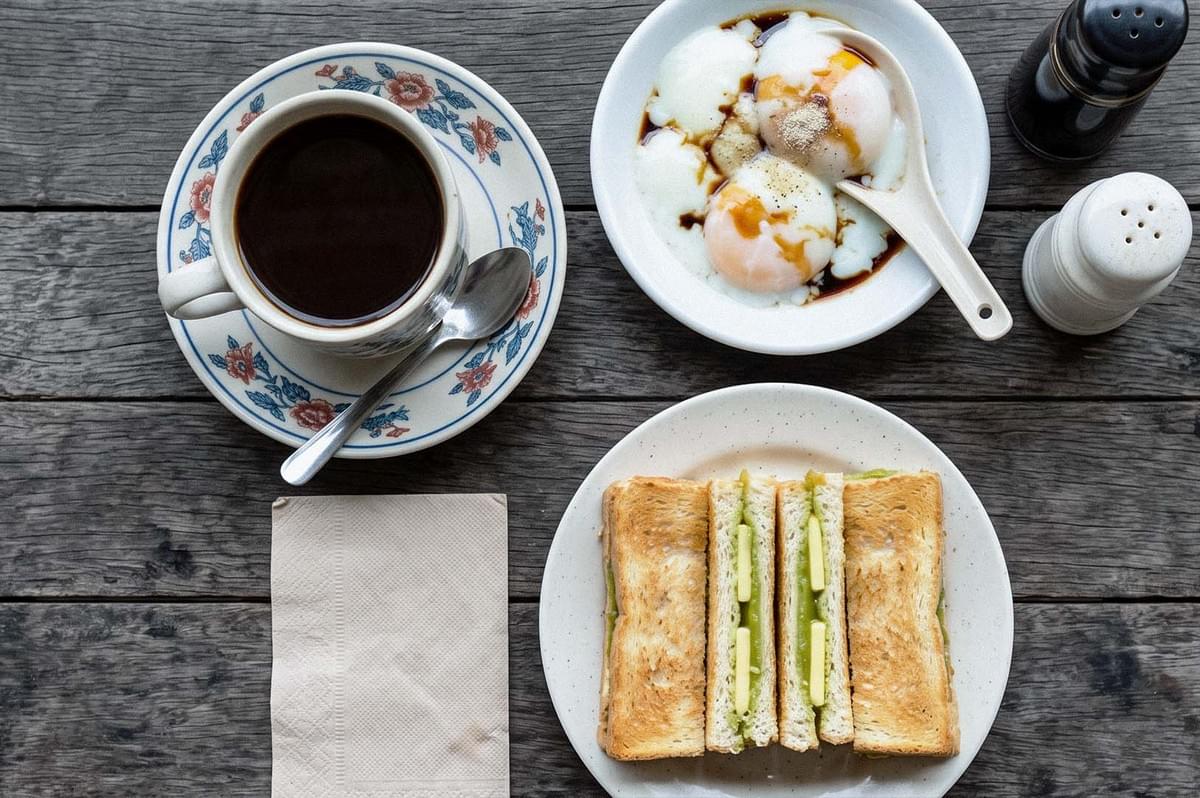
Flat lay is the view from directly above.
You stand over the food, phone parallel to the table, and shoot straight down.
I reach for it when the story is the spread, not the height. A kaya toast set works beautifully this way: the toast, the soft-boiled eggs, the kopi, all laid out like a small map of breakfast. Pizza, sushi, a table of shared dishes at a zi char place. When the arrangement is the point, go overhead.
But I've learned the hard way that flat lay lies about tall food. Shoot a burger from above and it collapses into a sad brown circle. The layers vanish. The height, the very thing that makes it appetising, disappears.
What I do: stand directly over the food, keep the edges of the table parallel to the frame, and leave a little empty space. Arrange the chopsticks or spoon with intention. Clutter reads worse from above than from any other angle.
AI Food Photo Hub Tip: Before you shoot flat lay, clear everything that doesn't belong. From directly above, a stray tissue packet or a sauce bottle in the corner becomes impossible to ignore. Ten seconds of tidying saves five minutes of editing.
45-Degree Angle: The Way You Actually See Food
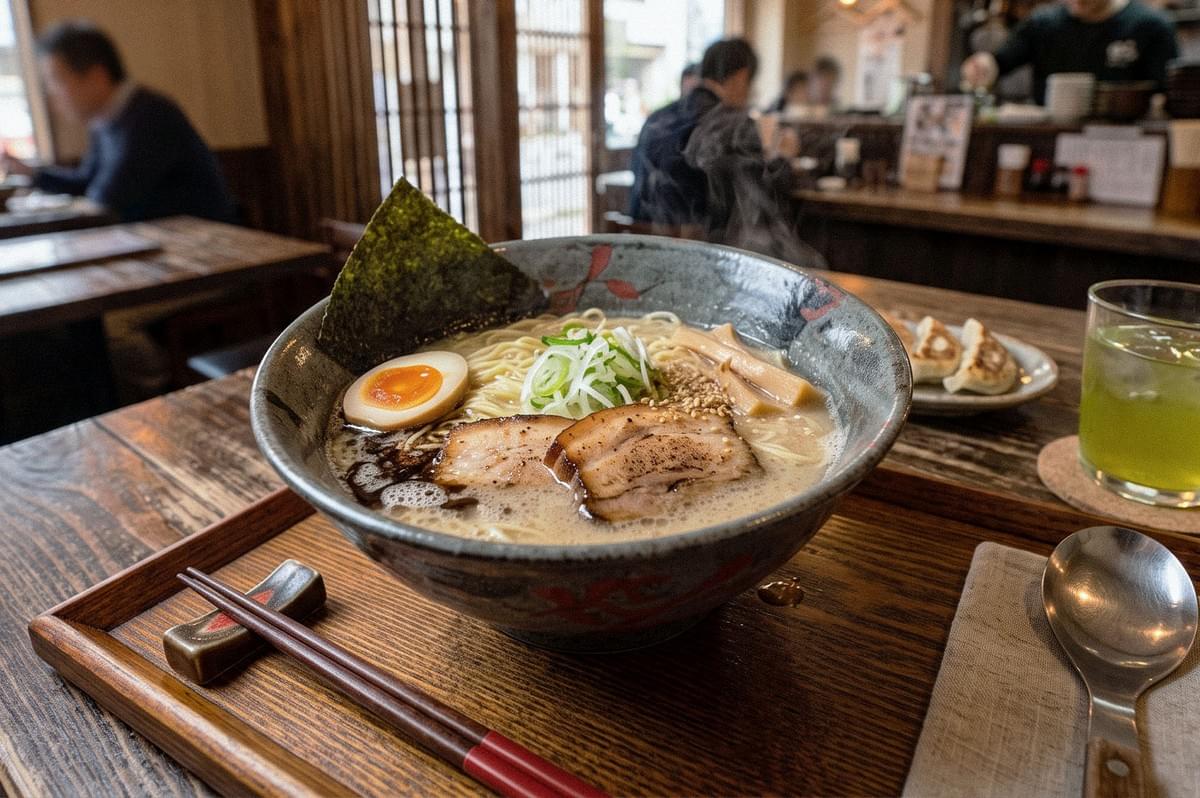
Sit down at a hawker table. Look at your bowl. That view, slightly above the food, looking down at a gentle angle, is roughly 45 degrees. It's how we see food when we eat, so photos taken this way feel natural and honest.
It's my default for anything with height or depth. A bowl of laksa comes alive here: you see the broth, the noodles, the prawns sitting proud instead of flattened. Ramen, curry, a plate of chicken rice, a slice of cake. The 45-degree angle gives them dimension.
In my experience, it also handles messy real-life settings better than flat lay. A slightly blurred background of the stall behind your bowl adds context instead of distraction.
What I do: shoot from seated eye level, rotate the plate a touch so the best part faces the light, and let the background soften on its own. You don't need portrait mode for this. A little natural distance does the work.
Close-Up: For Texture and the Small Details
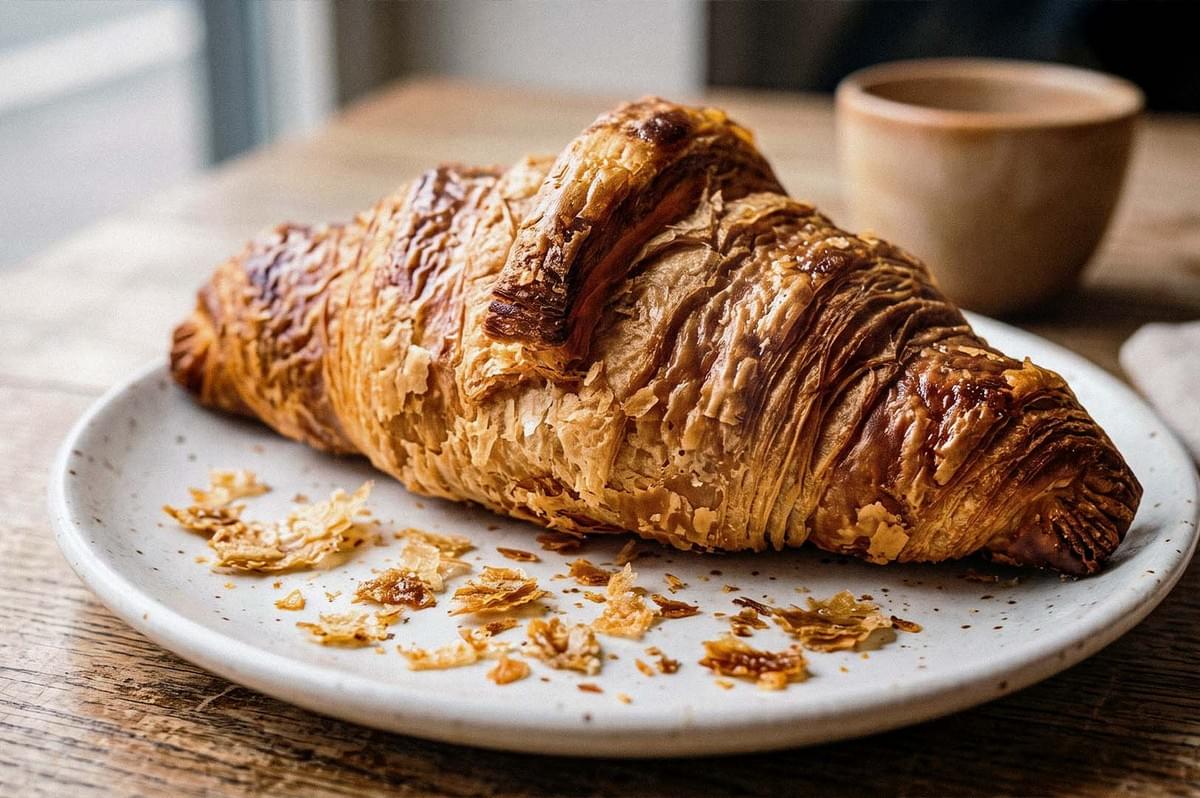
The wok char on char kway teow. The pull of melted cheese. The crumb of a warm croissant. The glossy red of chilli crab sauce clinging to the shell. Close-up is where you let a single detail carry the image.
I use it as a second shot more than a first. After a 45-degree frame of the full bowl, I'll move in close on the noodles being lifted, steam still rising. That pairing, the wide view and the intimate one, tells a fuller story than either alone.
The mistake I see most often is zooming. Digital zoom smears the very texture you're trying to show. Move your body closer instead. Your feet are a better lens than the slider on your screen.
What I do: pick one detail and commit to it. Keep the phone steady, breathe out as I tap, and focus deliberately on the hero spot. Everything else can fall soft.
AI Food Photo Hub Tip: For close-ups, shoot the moment food is at its freshest. Cheese sets, steam fades, fried edges soften within a minute. Decide your close-up shot before the plate even arrives, so you're ready when it does.
Matching the Angle to the Food
Angle follows height.
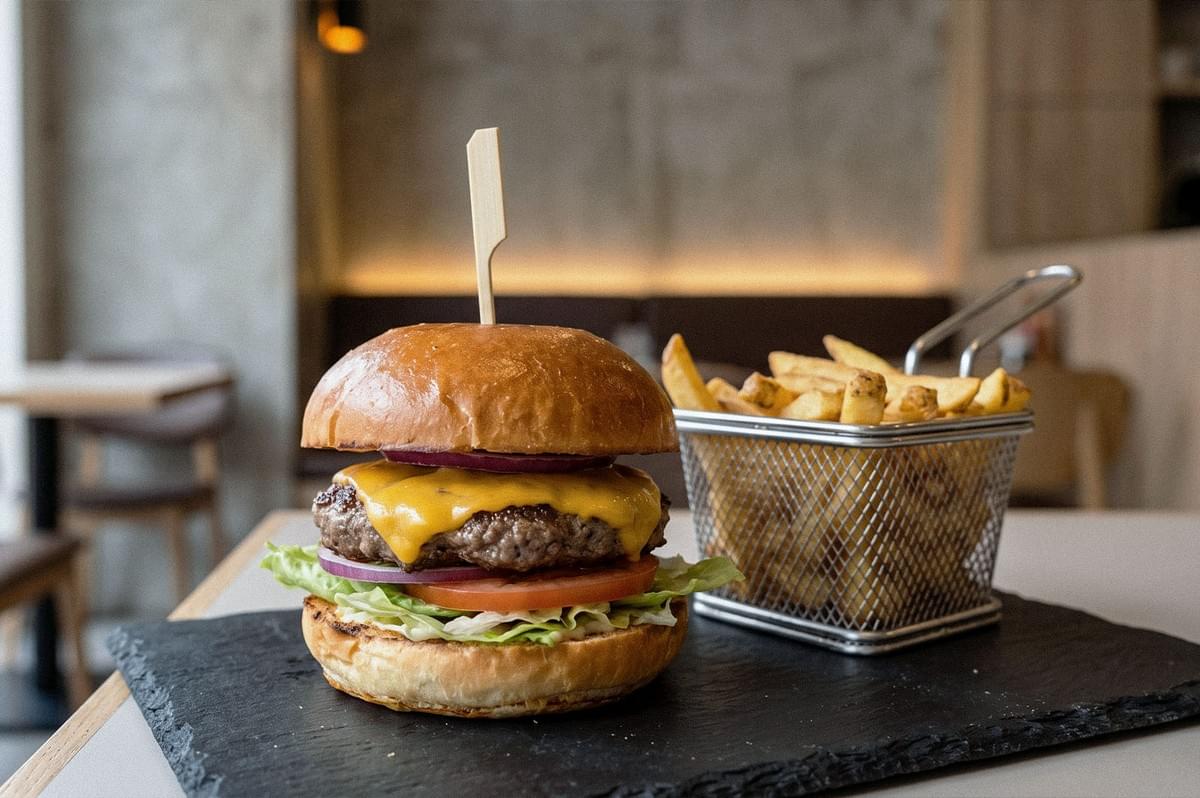
Low, flat foods (pizza, a breakfast spread, sushi, a kaya toast set) suit flat lay. Medium-height foods (laksa, curry, rice bowls, pasta) belong at 45 degrees. Tall foods (burgers, layer cakes, thick sandwiches) want a side-leaning 45-degree view that shows off their stack.
And texture-led dishes (char kway teow, noodles mid-lift, dessert) reward a close-up, usually as your second frame.
You don't have to overthink it. Look at the dish, ask what makes it worth remembering, and choose the angle that shows that one thing best.
Hacks I Actually Use
- Find the light before the angle. I sit near the edge of a hawker centre where daylight spills in, then rotate my tray toward that light. Direction matters more than brightness. Side light gives food shape; flat overhead spotlights kill it.
- Wipe the plate edge. A small napkin and two seconds. Stray sauce smears near the rim cheapen an otherwise good photo, especially in close-ups.
- Shoot three, then eat. My usual sequence takes under a minute: one 45-degree frame, one flat lay if the spread deserves it, one close-up. Then I put the phone down and enjoy the food while it's hot.
- Turn the bowl, not yourself. The best-looking side of a dish is rarely the side facing you. A gentle rotation of the plate often fixes a photo faster than moving your whole body.
- Use a white napkin as a reflector. Prop one on the shadow side of the dish. It bounces a little light back and softens the darkness under thick broth or a tall burger. Free, and it lives on every table.
- Difference between restaurant-style and hawker style images. Yes, sometimes there's a difference when it comes to style. I learn the background of the food first. I study what sells for it.
AI Food Photo Hub Tip: Clean your phone lens before every meal out. Fingerprints build up fast when you're passing the phone around a table, and a smudged lens quietly softens every shot, no matter how good your angle.
A Few Honest Questions
Phone or camera?
For most of what you'll shoot, a modern phone is more than enough. I've taken photos I'm proud of on nothing else. Handle the light and the angle well, and the gear stops mattering. Additionally, whether you're using an iPhone or an Android doesn't matter, what matters is how you take the images and utilize the device that you have.
Why do my restaurant photos come out dark?
Indoor lighting usually mixes warm and cool sources, which confuses your camera's exposure. Move toward a window if you can, and let natural light do the heavy lifting.
Why does my burger look flat?
You're probably shooting it from above. Drop to a 45-degree angle, slightly to the side, and the layers come back. Height is the whole appeal of a burger. Don't flatten it.
Choosing the Right Food Photography Angle Makes Every Shot Stronger
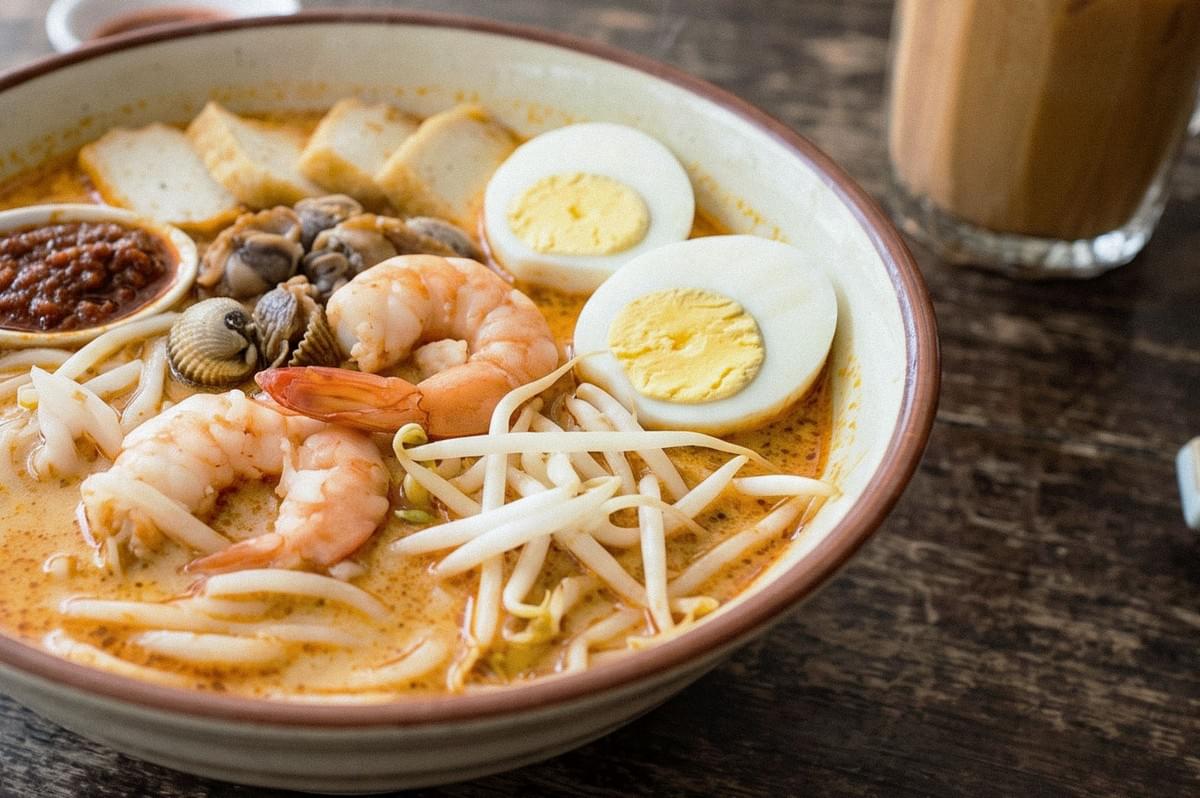
That first flat puddle of laksa still makes me smile.
The food was never the problem. I just hadn't learned to look at it properly yet. And that, more than any setting or app, is what these three angles really teach you: to notice what makes a dish worth remembering before you photograph it.
So next time you sit down to a bowl of something good, pause for a second. Ask what the dish is trying to say. Is it the whole spread laid out? The steam rising off the broth? The char on the noodles?
Then choose your angle, take your three quick frames, and put the phone away.
The food's getting cold. And the best photos, in the end, are just a way of holding onto a meal that mattered.
